Clean Nuna Pipa Car Seat After Car Sickness: A Quick Guide
Nuna Pipa car seat mess? Learn how to clean vomit and odors after car sickness with this step-by-step guide for disassembly, washing, and reassembly.
The Immediate Aftermath: Damage Control
The moment you realize your little one has, shall we say, contributed to the interior decor, safety is paramount.
Your First Moves
- Pull Over Safely: As soon as you can, find a safe spot to get off the road. Your priority is ensuring everyone is safe and you have a stable place to assess the situation.
- Remove Solids: Gently remove any solid matter. Use disposable wipes or paper towels for this. The less you have to scrub later, the better.
- Blot Excess Liquid: Use clean cloths or absorbent paper towels to soak up as much liquid as possible. Press firmly but avoid rubbing, which can spread the mess and push it deeper into the fabric.
What NOT to Do Right Now
- Don't panic: Easier said than done, but a calm approach leads to better cleaning.
- Don't reassemble yet: If a strap came loose, leave it. You'll address reassembly later.
- Don't start scrubbing furiously: This can embed the stain further. Focus on removal first.
Pre-Cleaning Prep: Taking it Apart Like a Pro
Before you can deep clean your Nuna Pipa after a vomit situation, you need to disassemble it correctly. This ensures you can wash all components thoroughly and safely.
Getting the Seat Out
Your Nuna Pipa car seat usually stays secured by your car's seatbelt or the LATCH system. Refer to your Nuna Pipa manual for specific uninstallation instructions for your model, but generally, you'll release the seatbelt or the LATCH connectors and lift the seat out of the car.
Detaching the Fabric Cover
Nuna Pipa fabric covers are designed to be removable for cleaning.
- Locate snaps and clips: Most covers attach with snaps around the edges and clips that secure to the seat frame.
- Gently pull: Carefully unfasten all snaps and clips. You might need to lift the seat slightly to get better access.
- Remove inserts: Any infant inserts or headrests should also detach. These are often secured with their own smaller snaps or Velcro.
Strap Removal: A Crucial Safety Note
Never fully remove the harness straps from the buckle mechanism unless absolutely necessary and you are confident in reassembly. Research suggests that improper re-threading of harness systems can compromise their safety effectiveness. For most car sickness cleanups, it's sufficient to unthread the straps from the seat fabric to wash them separately.
- Unhook from fabric: The shoulder straps typically thread through fabric loops. Unhook them from these loops.
- Check manual: If you need to detach them completely from the seat frame for a very severe incident understand the reassembly process thoroughly, consult your Nuna Pipa manual.
Deep Cleaning: Banishing Stains and Odors
Now it's time for the real work: making that fabric pristine again. This addresses the Nuna Pipa car seat cleaning guide you need.
Spot Cleaning Tough Stains
For stubborn vomit or blowout remnants, spot cleaning is your first line of defense.
- Mild Soap and Water: Mix a small amount of mild, non-bleach detergent with cool water.
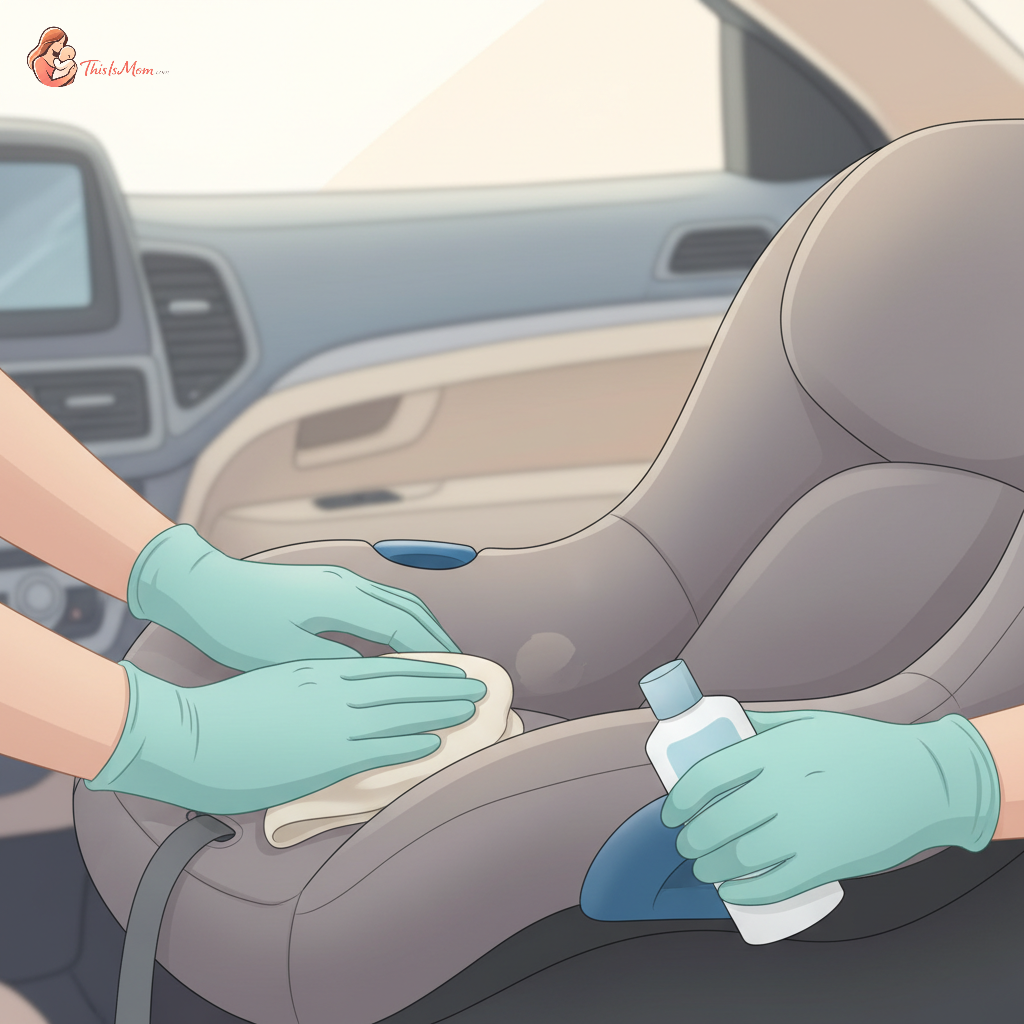
- Gentle Scrub: Use a soft cloth or sponge to gently work the solution into the stained area. Don't oversaturate.
- Rinse: Blot the area with a clean, damp cloth to remove soap residue.
- Odor Neutralizers: For lingering odors, a solution of white vinegar and water (50/50) can be effective. Apply sparingly to the affected area, let it sit for a few minutes, then blot away.
Machine Washing Nuna Pipa Covers
Always check the care label inside your Nuna Pipa fabric cover before proceeding. Most Nuna Pipa fabric covers are machine washable, but the specific cycle and temperature matter.
- Wash Alone: Wash the cover and inserts separately from other laundry.
- Cold Water Cycle: Use a gentle or delicate cycle with cold water. Hot water can damage certain fabrics or cause shrinkage.
- Mild Detergent: Use a small amount of mild detergent. Avoid harsh chemicals, fabric softeners, or bleach, as these can degrade the fabric or its flame-retardant properties.
- Rinse Thoroughly: Ensure the machine completes a full rinse cycle to remove all detergent residue.
Drying Your Nuna Pipa Fabric
Discover your baby's phase
Never put your Nuna Pipa fabric in a machine dryer. The heat can warp plastic components, shrink the fabric, or damage flame-retardant treatments.
- Air Dry Only: The best method is air drying.
- Hang or Lay Flat: Hang the fabric cover and inserts on a drying rack or lay them flat on a clean surface.
- Away from Direct Heat/Sun: Dry in a well-ventilated area, away from direct sunlight or heat sources. This prevents fading and potential damage.
- Ensure Full Dryness: Make absolutely sure the fabric is 100% dry before reassembling. Dampness can lead to mildew and odors.
Cleaning Straps, Buckle, and Hard Shell (No Submerging!)
These components require a different, more cautious approach to cleaning.
Safely Cleaning Nuna Pipa Straps
The harness straps are critical for your child's safety.
- Spot Clean Primarily: For most car sickness incidents, spot cleaning the straps with a damp cloth and mild soap is sufficient.
- Never Submerge: Do not submerge the harness straps in water or put them in a washing machine. This can degrade the fibers and impact their strength and safety.
- Allow to Air Dry: After spot cleaning, allow the straps to air dry completely.
Disinfecting the Buckle and Harness System
The buckle and other plastic harness parts need to be clean but can't be soaked.
- Damp Cloth: Use a slightly damp cloth with a small amount of mild soap to wipe down the buckle and any plastic elements.
- Inspect and Clean Gaps: Pay attention to any small crevices where vomit might have seeped. A cotton swab can help clean these areas.
- Wipe Dry: Ensure all components are wiped dry immediately after cleaning.
Wiping Down the Base and Hard Shell
The plastic parts of the car seat and its base are generally easier to clean.
- Mild Soap and Water: Use a soft cloth dampened with a solution of mild soap and water to wipe down the entire plastic shell of the car seat and the base.
- Avoid Harsh Cleaners: Do not use abrasive cleaners, solvents, or bleach, as these can damage the plastic or compromise safety labels.
- Dry Surfaces: Wipe all surfaces dry with a clean, soft cloth.
Reassembly and Final Safety Checks
Putting it all back together correctly is just as important as cleaning it.
Reattaching Fabric and Inserts
Once everything is completely dry:
- Reverse the Removal: Reattach the infant inserts, headrests, and main fabric cover by following the reverse of the removal process. Ensure all snaps, clips, and Velcro are securely fastened.
- Check Fit: Make sure the fabric is taut and correctly positioned, with no bunches or loose areas that could interfere with the harness.
Re-threading and Adjusting Straps
This is a critical safety step.
- Thread Correctly: Re-thread the shoulder straps through the designated loops in the fabric cover, ensuring they are at the correct height for your child (at or below the shoulders for rear-facing). Consult your Nuna Pipa manual for specific height markings.
- Buckle Check: Ensure the buckle components connect securely and smoothly.
- Harness Adjustment: Adjust the harness straps so they are snug but not too tight. You should only be able to fit one finger between the strap and your child's collarbone.
A Final Inspection
Before placing the car seat back in the car:
- Look for Damage: Inspect all straps, buckles, and plastic components for any signs of damage, fraying, or cracking that may have occurred during the incident or cleaning.
- Check Labels: Ensure all safety labels are still intact and readable.
- When to Replace: If you find any significant damage, or if the car seat has been through a moderate to severe crash, it's time to consider replacement. Your child's safety is non-negotiable.
You've got this. A serious car sickness incident isn't the end of your Nuna Pipa. By following these steps, you'll have it clean, safe, and ready for your next journey.